
Learn how to apply makeup highlighter like a pro and master the art of achieving a natural and radiant glow for any occasion!
You must know that a highlighter is the secret weapon that takes your makeup from flat to flawless, while adding dimension and glow. Read on and see how to place and blend your highlighter, which will make all the difference in your face!
Understanding Your Highlighter
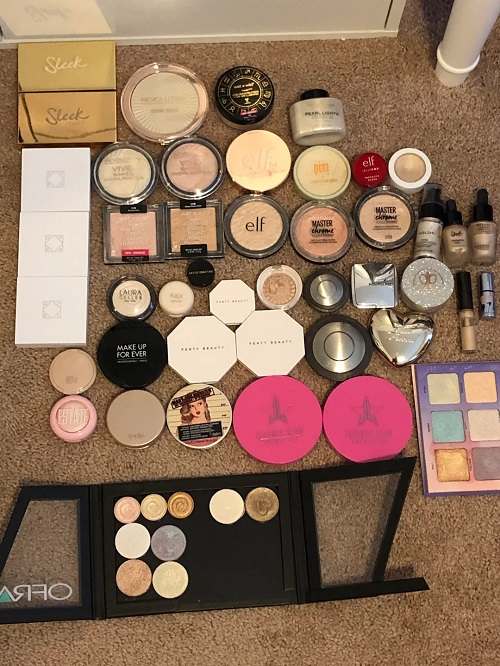
Before you dive into techniques, you need to know what you are working with. Highlighters come in several forms, including powder, liquid, cream, stick, and even jelly. Powder is perfect if you have oily or combination skin, and it gives a soft-focus glow.
Liquid and cream highlighters will work wonders for dry or mature skin, as they melt seamlessly into the complexion for a natural sheen. You can also use sticks and balms that are beginner-friendly and ideal for a quick swipe-and-go glow.
Pro Tip: Match your highlighter undertone to your skin tone. Champagne or rose gold is best for fair to medium tones, while golden or bronze is best for deeper tones.
Prepping Your Canvas
Your highlighter will only look as good as the base beneath it. Start with clean and hydrated skin, followed by a primer suited to your skin type. Go for mattifying if you are oily, and dewy if you have a dry type.
Next, you have to apply your foundation and concealer, and lightly set with powder if you are using a powder highlighter. You need to skip this step for cream or liquid formulas to avoid patchiness.
Pro Tip: Dab a tiny bit of moisturizer or facial oil on the tops of your cheekbones before applying highlighter. It will give that lit-from-within glow even under matte foundations.
Choosing the Right Placement
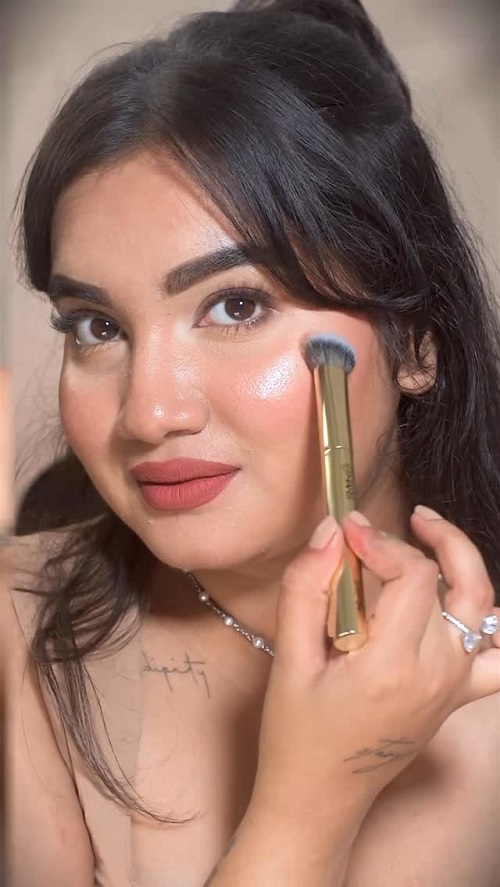
Highlighter placement is where the magic truly happens! You should think of it as sculpting your face with light. The goal is to accentuate the high points where the sun would naturally hit.
Start with your cheekbones, the ultimate glow zone, and swipe or tap product along the highest point for that lifted and radiant look. While doing this, don’t forget the bridge and tip of your nose, which add a soft and lifted effect. The cupid’s bow is another must-hit spot, and a little glow there makes lips look instantly fuller and more defined.
Make-up Tip: If you’re dressing up for a night out or a photoshoot, take it a step further by dusting a little glow over your collarbones and shoulders for that all-over goddess vibe.
Use The Right Technique
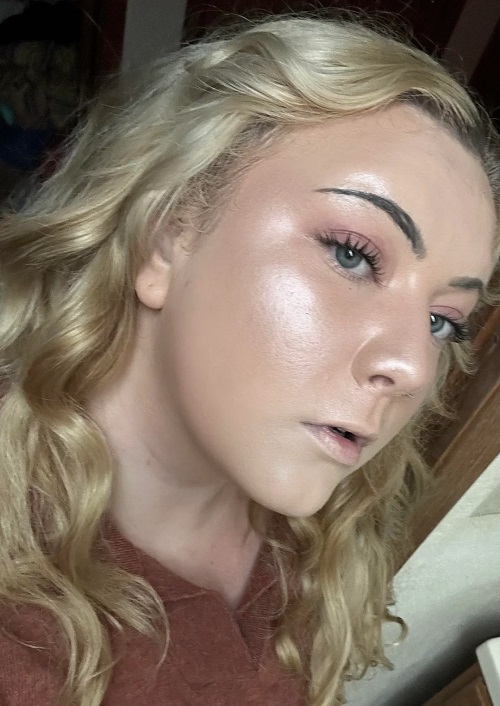
Applying highlighter isn’t about just swiping it on; it’s about blending until it looks like your skin just happens to glow naturally. Tap cream or liquid highlighters in with your fingertips or a damp sponge, and blend out the edges.
For powders, you can use sweeping motions with a fan brush or tapered highlight brush for precision. Always build slowly; you can add more glow, but toning it down later is trickier.
Final Touch And Setting
Once you are glowing in all the right places, lock it in! A setting spray with a dewy finish will help you melt the highlighter into the skin, while creating a glossy effect. This step ensures your glow lasts through heat, sweat, and those dancing moves at parties.
Pro Tip: Mist your brush with setting spray before dipping into your highlighter for a foil-like finish that stays put for hours.
Now use these techniques and experiment with them until you find your signature glow. Tell was how it goes in the comments below!