
Here’s how to use a makeup blender the right way, from prepping and wetting your sponge to blending foundation, for flawless results!
Do you know how to use a makeup blender? If there’s one tool that changed the way we do makeup, it’s the humble blender sponge. Doesn’t matter if you’re a beginner or someone who’s been playing with makeup for years; you’ve probably noticed how much smoother foundation looks when applied with one.
Step 1: Prepping Your Makeup Blender
Why You Should Always Wet It
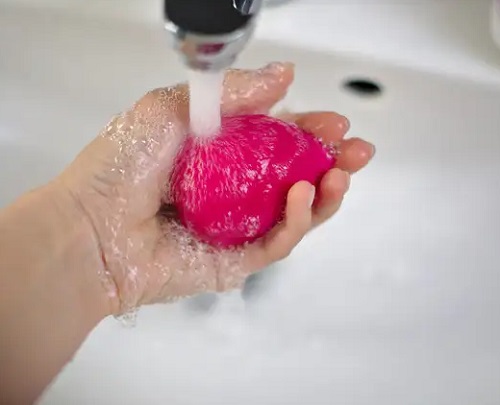
The first mistake many people make is either using it completely dry or too wet. You want the sponge damp, not dripping. Run it under water until it doubles in size, then gently squeeze it with a towel.
The goal is for it to feel pillowy soft, not soggy. If it’s too wet, it will sheer out your foundation; if it’s too dry, it will absorb more product than it should.
Pro Tip: Try dampening it with a setting spray instead of water. This not only gives you extra staying power but also adds a natural glow to your finish.
Shape Matters Too
Most blenders have two sides–the rounded base for larger areas and the pointed tip for precision. But did you know the edge of the sponge can also carve out cheekbones or sharpen your contour lines?
Treat each surface like a different brush and you’ll get more out of it than you think. And don’t forget to follow these blush application tips!
Step 2: Perfecting Your Base
Foundation: Dot First, Blend Later
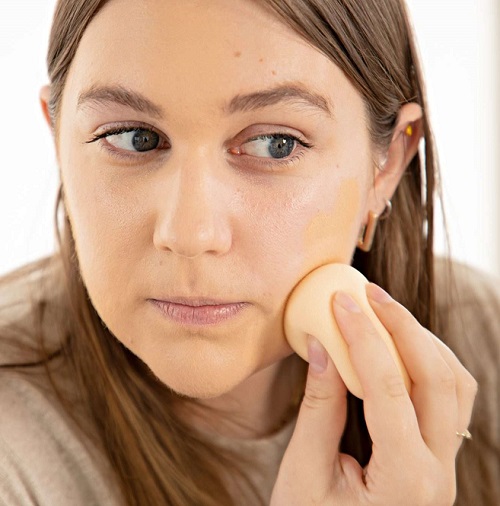
A common mistake is pouring the foundation directly onto the sponge. Instead, dot it onto your skin first.
This way, the blender spreads the product evenly without wasting any. Use a gentle bouncing motion rather than wiping it around. Doing so creates a seamless layer that looks like skin, not makeup.
Pro Tip: Use the side of the blender for sheer coverage and the base for full coverage. The more surface area you use, the quicker and smoother the finish.
Concealer and Brightening
The pointed tip is your best friend for precision. Use it to reach the corners under your eyes, around the nose, and over blemishes. This is where the blender really proves it’s more than just a foundation tool.
Concealer is where the blender really shines. Place your concealer under your eyes in a triangle shape, let it sit for 20–30 seconds to thicken slightly, and then blend it with the pointed tip. Simple, right? Here’s a proper guide on it!
Extra Trick: Flip the sponge over and use the clean side to diffuse the edges. This keeps your concealer bright in the center but seamless around the sides.
Step 3: Beyond the Basics

Cream Blush and Highlighter
Cream blush can be intimidating if you’re new, but the blender makes it foolproof. Tap the blush high on your cheeks using the side of the sponge to diffuse the color beautifully without harsh lines.
For the highlighter, use the very tip of the blender for precision. It keeps the glow focused rather than spreading all over your face.
Little-Known Hack: For an extra natural glow, dampen the tip with a drop of facial oil before blending your highlighter. It’ll give you that “lit-from-within” effect.
Powder Setting Without Cakiness
Yes, your blender works with powders too. For baking under the eyes, press loose powder in with a damp sponge and let it sit for a few minutes before dusting off.
On the other hand, if you want an all-over setting, use it dry to gently press powder into the skin to avoid that heavy, dusty look brushes sometimes leave behind. Here are more genius beauty hacks you should try!
Pro Tip: Use the edge of the blender to set powder along the sides of your nose or carve out under your cheekbones for a sharper contour.
Step 3: Keeping Your Blender Clean (Most Important)
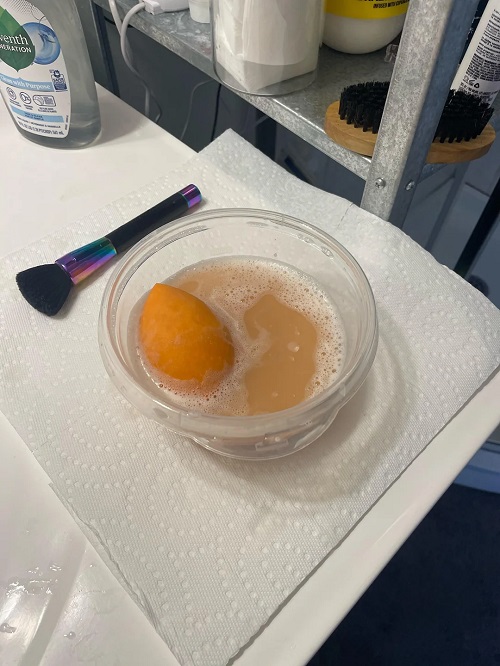
A dirty blender is a breeding ground for bacteria and can cause breakouts. Rinse it after every use with lukewarm water and a mild soap or cleanser.
Don’t just squeeze the outside! Massage it under running water until the liquid runs clear. Let it air dry in an open space; never stuff it in a drawer while damp.
Pro Tip: Microwave your damp sponge in a cup of water for 30 seconds once a week (yes, really). It kills bacteria and gives your sponge a mini reset. Just make sure it’s fully submerged and not dry when you do this.
Knowing When to Replace It
Even with perfect care, makeup blenders don’t last forever. Once it starts tearing, losing its bounce, or holding on to stains, it’s time to replace it. Usually, every 3–4 months is ideal, depending on how often you use it.
Using a makeup blender isn’t about complicated tricks. From wetting it the right way to cleaning it regularly, these steps keep your skin looking natural and polished.